

Key Takeaways on Common AC Issues
-
Check thermostat settings, replace dirty filters, unblock vents, and clear outdoor debris first – these steps often restore cooling and prevent avoidable breakdowns.
-
Stop the system and call a licensed technician for humming units, refrigerant leaks, electrical odors, grinding noises, or repeated breaker trips.
-
Never run an AC with frozen coils. Turn cooling off, run the fan to thaw the ice, and protect the compressor from costly damage.
-
Fix refrigerant leaks and clogged drain lines at the source – recharging the system or bypassing safety switches only delays damage.
-
Match maintenance to your climate: watch drains in humid regions, change filters more often in dusty areas, and rinse coastal units regularly to slow salt corrosion.
An AC that hums but won’t blow cool air is telling you something. Most of the time, that signal points to a failed capacitor – one of the most common problems homeowners face every cooling season. Most of these breakdowns are preventable with regular maintenance.
Knowing what to look for makes the difference between a quick fix and a costly repair. This guide covers the six common AC problems that show up most often – refrigerant leaks, frozen coils, clogged drain lines, blower motor failures, and more. We walk through what causes each one, what you can safely check yourself, and when to call a licensed technician before the problem gets worse.
Common Air Conditioner Problems and Solutions
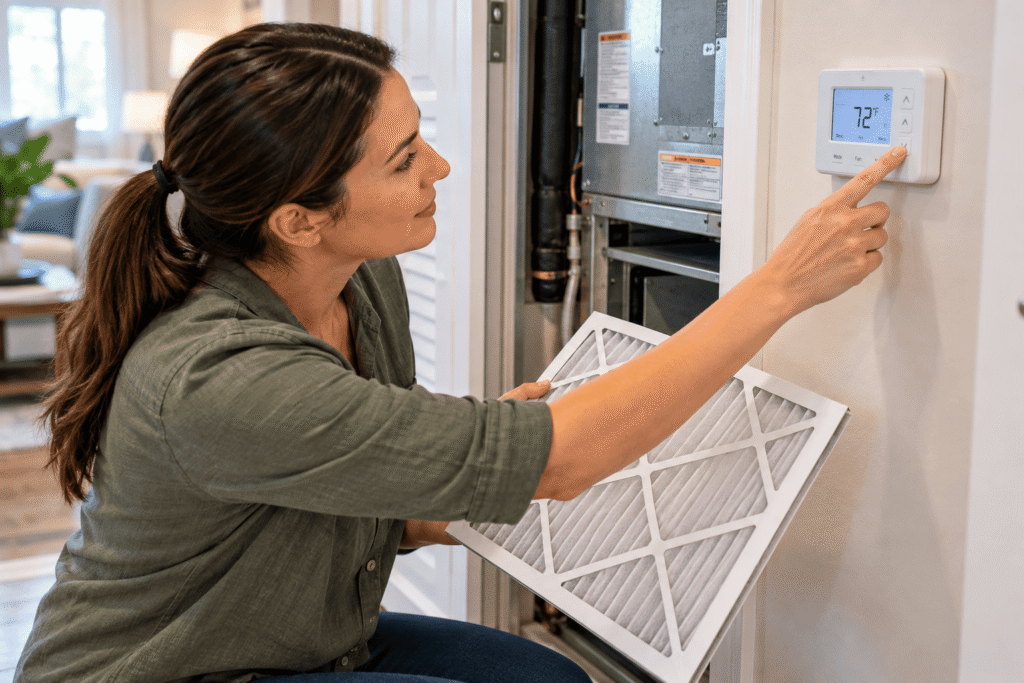
Six problems account for most of what goes wrong during a cooling season. Knowing which one you’re facing saves time, protects the equipment, and helps you give the technician a clear picture before they arrive.
Failed Capacitor: Why a Humming AC Needs Professional Repair
A humming outdoor unit usually points to a failing capacitor – the part that gives the compressor and fan motor the electrical push needed to start. Warning signs include delayed startup, short cycling, warm air from the vents, and a hum that grows louder as the part wears out. A capacitor holds an electrical charge even with the power off, so testing it with a multimeter and confirming the correct microfarad rating is a job for a licensed technician, not a weekend project.
Refrigerant Leaks and Valve Faults: Why a Recharge Alone May Not Help
When the AC takes longer to cool the house or you hear hissing near the lines, a refrigerant leak or faulty valve is likely the cause. Refrigerant does not get consumed like fuel, so a drop in level always means it is escaping somewhere in the lines or valves. Topping off the charge without sealing the leak only delays the problem – levels keep falling and ice can return to the coil within days.
Clogged Drain Lines: Clearing Blockages Without Bypassing Safety Switches
Mold, dust, and debris collect in the condensate pan and block the drain line, causing puddles, musty odors, or water damage near the indoor unit. Many systems include a float safety switch that shuts cooling off once water rises, and that switch should stay in place rather than get bypassed. A technician clears the blockage with a wet vac or plumber’s snake, then flushes and tests the line before restoring power.
Frozen Coils: Stop Cooling and Let the Ice Thaw
Ice on the evaporator coil blocks heat transfer, leaving the system pushing warm air with weak flow. Switch the thermostat off and the fan on – light frost clears in 1 to 3 hours, while heavy buildup can take 4 to 8 hours. Running the unit while frozen strains the compressor, and replacing a damaged one can cost between $800 and $2,300.
Failed Blower Motor: When Weak Airflow Points Past the Filter
Weak airflow despite a clean filter often traces back to the blower motor rather than the coil. A struggling motor runs sluggish, stalls, or overheats, and left unchecked, it can burn out and damage other components along with it.
Condenser Fan or Compressor Failure: Why the Outdoor Unit Stops Cooling
When the condenser fan stops spinning, heat cannot leave the coil, so the compressor overheats and shuts down to protect itself. A silent outdoor unit – even with the thermostat calling for cooling – points to a compressor or fan motor that is not getting power, something only a professional test can confirm.
Safe AC Checks Before You Call a Technician
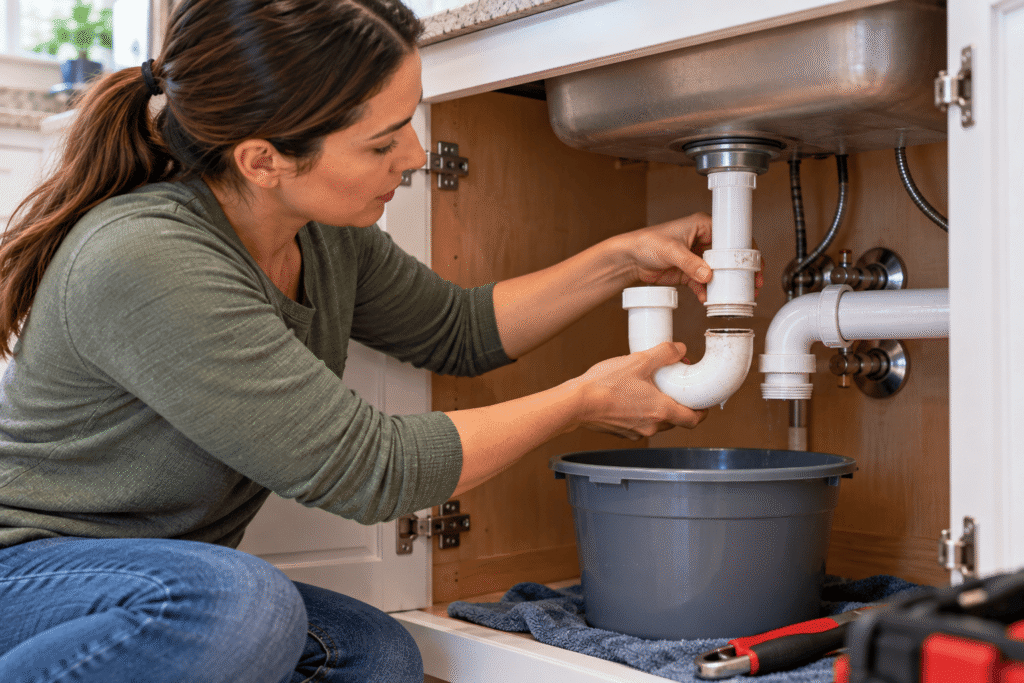
A handful of checks can rule out simple causes and save you a service call altogether. Start here before picking up the phone.
Check Thermostat Settings, Batteries, and Error Messages
Start with the thermostat. A blank screen usually means dead batteries or a tripped breaker – swap in fresh batteries and check your electrical panel before assuming the worst. A filter reminder or low battery icon on the display is the system telling you exactly what it needs. Modern thermostats also build in a five-minute delay to protect the compressor from short cycling, so a blinking “Cool On” message is a safety pause, not a fault. Wait at least ten minutes before concluding something is actually broken.
Replace a Dirty Filter and Unblock Supply and Return Vents
A clogged filter restricts airflow, forces the blower to work harder, and is one of the most common causes behind tripped breakers. Check filters monthly and replace them every 30 to 90 days – sooner if pets or allergies are part of your household. Vacuum the return grille every three to six months and clear furniture or drapes blocking supply vents. A blocked return strains the system as much as a dirty filter does.
Clear Leaves and Debris Around the Outdoor Unit
The condenser needs room to release heat. Grass clippings, leaves, and overgrown landscaping pile against the cabinet and choke off the airflow the unit depends on. Clear loose debris from the ground and keep at least two feet of clearance on all sides – but do not reach into the cabinet or remove panels yourself.
Stop Troubleshooting for Burning Smells, Grinding, or Repeated Breaker Trips
Some signs mean stop – not troubleshoot further. Burning odors, grinding or buzzing noises, and a breaker that trips the instant the system starts all point to electrical shorts or failing components that need a licensed technician. Do not keep resetting the breaker. That habit risks further damage to your home’s electrical system and should be left to a professional to diagnose.
What Professional AC Repairs Involve and Cost
When your own checks don’t solve the problem, a technician starts with proof, not guesswork. Every component gets tested. A number goes in writing only after the actual cause is confirmed.
How Technicians Test Parts and Confirm the Cause
Diagnosis comes before any repair estimate. A technician pulls model and serial numbers, checks warranty status, and tests the suspect part before recommending a fix. Homeowners should expect a clear explanation of what was found and what repair is needed before any approved work begins.
How Parts, Labor, and Warranty Coverage Affect the Quote
Part costs vary by component: a capacitor runs $100 to $400, a fan motor $200 to $700, and a compressor $900 to $2,900. Manufacturer parts warranties typically run 5 to 10 years, while labor coverage runs separately – usually one to two years, unless an extended plan is in place. Without that coverage, labor alone for a compressor replacement runs $600 to $1,200. Because warranty terms and labor rates can vary, homeowners should request a written proposal showing the scope of work, parts, pricing, and applicable warranty before authorizing repairs.
When Repair Costs and System Age Favor Replacement
ENERGY STAR suggests considering replacement once a system passes 10 years old. One screening method multiplies the unit’s age by the repair cost – totals over $5,000 are a prompt to compare options in writing rather than commit to a repair on the spot. Full replacement typically runs $5,800 to $17,000 depending on the system and home. A written estimate makes that comparison straightforward.
AC Maintenance That Fits Your Climate
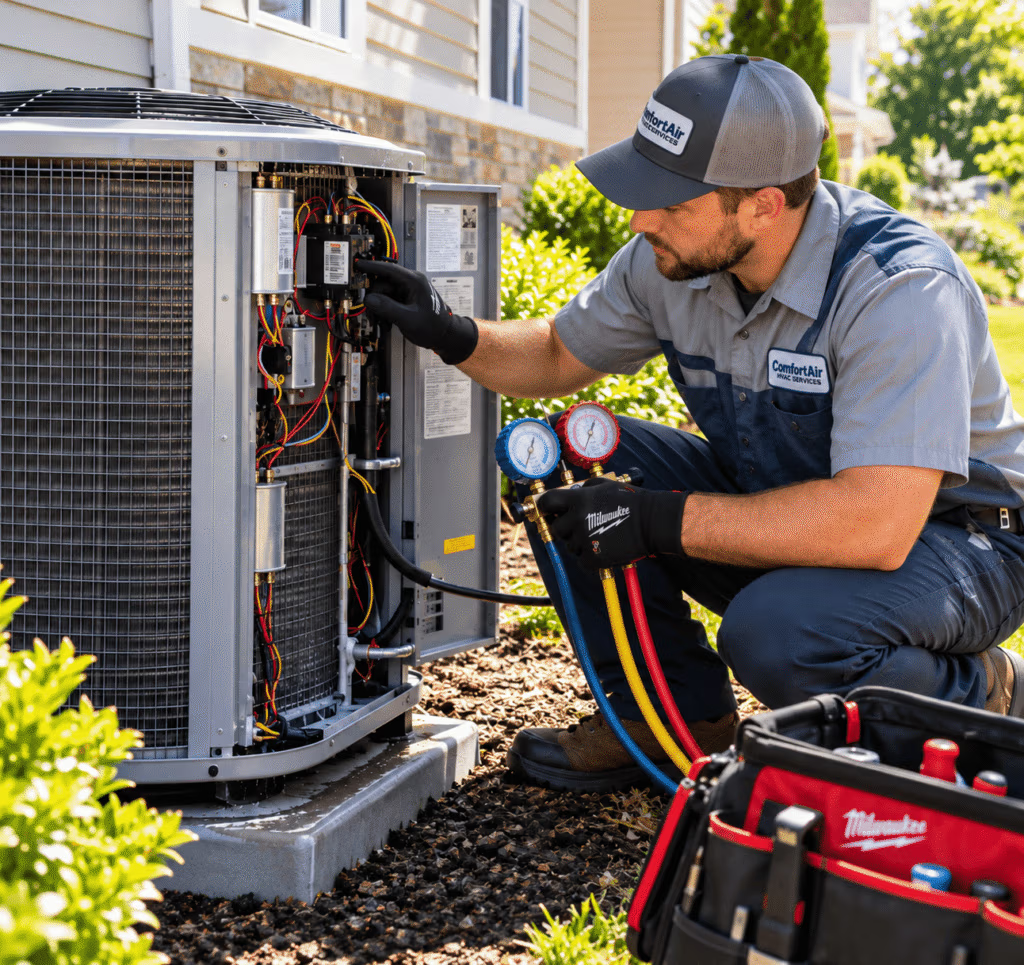
Maintenance schedules are not one-size-fits-all. The local climate decides which part of your system takes the most abuse – and which habits matter most for keeping it running season after season.
Match Filter Changes to Dust, Pets, and Seasonal Use
Filter type determines how often you need to check. Fiberglass filters need checking every 30 days, while thicker 4-inch pleated filters can run 3 to 12 months between swaps. Multiple pets call for monthly checks and replacement every 60 days, and running the system through a long, unbroken summer shortens that window too. Check the filter first – it costs nothing and solves more problems than most homeowners expect.
In Humid Areas, Watch the Drain Pan and Keep Moisture Moving
High humidity puts the condensate drain line under constant stress. Humid climates can pull 5 to 20 gallons of water from indoor air daily, and a clogged drain line can trip the float safety switch, shutting cooling down entirely. A monthly vinegar flush through the cleanout tee between April and October keeps algae from blocking that line. Clean drain lines also improve system efficiency by 10 to 15% – a simple habit with a measurable payoff.
In Hot, Dry Areas, Keep the Outdoor Unit Clear of Dust and Debris
Dusty climates push fine grit into filters and internal parts faster than most homeowners realize. Filter changes as often as every two weeks may be warranted during the worst stretches, paired with MERV 8 to 13 rated filters that trap fine particles before they reach the coil or blower. Clearance around the outdoor unit matters here too – keep at least two feet on all sides and brush loose debris away after windy conditions.
In Coastal Areas, Ask About Salt Exposure and Coil Protection
Salt air is one of the harshest conditions an outdoor unit faces. Salt exposure can shrink a unit’s lifespan from 15 years down to 8 to 10 years within a mile or two of the shore. Monthly fresh-water rinses on the outdoor cabinet remain the single highest-value maintenance habit for coastal homeowners. Factory-applied coastal coatings, priced $300 to $600 above standard equipment, can double the outdoor unit’s working life. Service frequency should scale with distance from the water – quarterly within a mile, semi-annual within three. Homeowners should ask their technician about coating options before the next installation or replacement.
Schedule a Tune-Up Before Your Area’s Peak Cooling Season
A pre-season tune-up catches worn parts, dirty coils, and low refrigerant before the hottest weeks arrive – and before every other homeowner in the region is calling for the same appointment. Booking service ahead of peak demand gives a technician the time to diagnose problems carefully, explain the findings, and present options before any work begins. That timing also keeps the system running efficiently from the first hot day forward.